
Wednesday, June 15, 2011


Attic Fan
The original vent was probably enough for the new fan, but I plan to install 18x24 vents to be sure I have the right amount of area - which requires a little restructuring - and the siding on the other side covers that vent, too....


Attic Fan
The house originally had the cement/asbestos tiles over this crummy "exterior grade" drywall - cheap for the '60s, and so I will re-side it with OSB when the fan is installed.


Attic Fan
This client has an A/C unit in the attic, and felt that it was over-working, and that the attic itself may need more ventilation. Well - I knew it needed a power vent, but look what I found - the siding was done by another company, five + years ago....
 This might have to do with the excessive heat, no ????

Tuesday, June 14, 2011


Final Ceiling Fan
And here's the finished installation - helps to circulate the A/C air - more on this project to follow....


New Ceiling Fans
Here's the box for the fan - this new style does not require hanging the fan from this box - it gets screwed to the structure directly, which I feel is a better, safer install.


New Ceiling Fan
This installation required going into the attic (in June) to find an electrical source, then properly splice it into junction boxes.


Friday, May 13, 2011
Electrical Panel finishing
Last year this customer had their entire electrical panel replaced, and I went in first to change the underlying exterior grade drywall to solid plywood - now it needs to be finished, along with the door and roof trim.


Spring Renewal, cont'd
Burst pipe -
This outdoor spigot has the same problem every year - a stretch of copper exposed to the cold winter air that always cracks the joints - this time, I ran a piece of heavy duty rubber hose from the tap to the connection inside the house, to allow for expansion and contraction in the future -


This outdoor spigot has the same problem every year - a stretch of copper exposed to the cold winter air that always cracks the joints - this time, I ran a piece of heavy duty rubber hose from the tap to the connection inside the house, to allow for expansion and contraction in the future -


Spring Renewal, cont'd
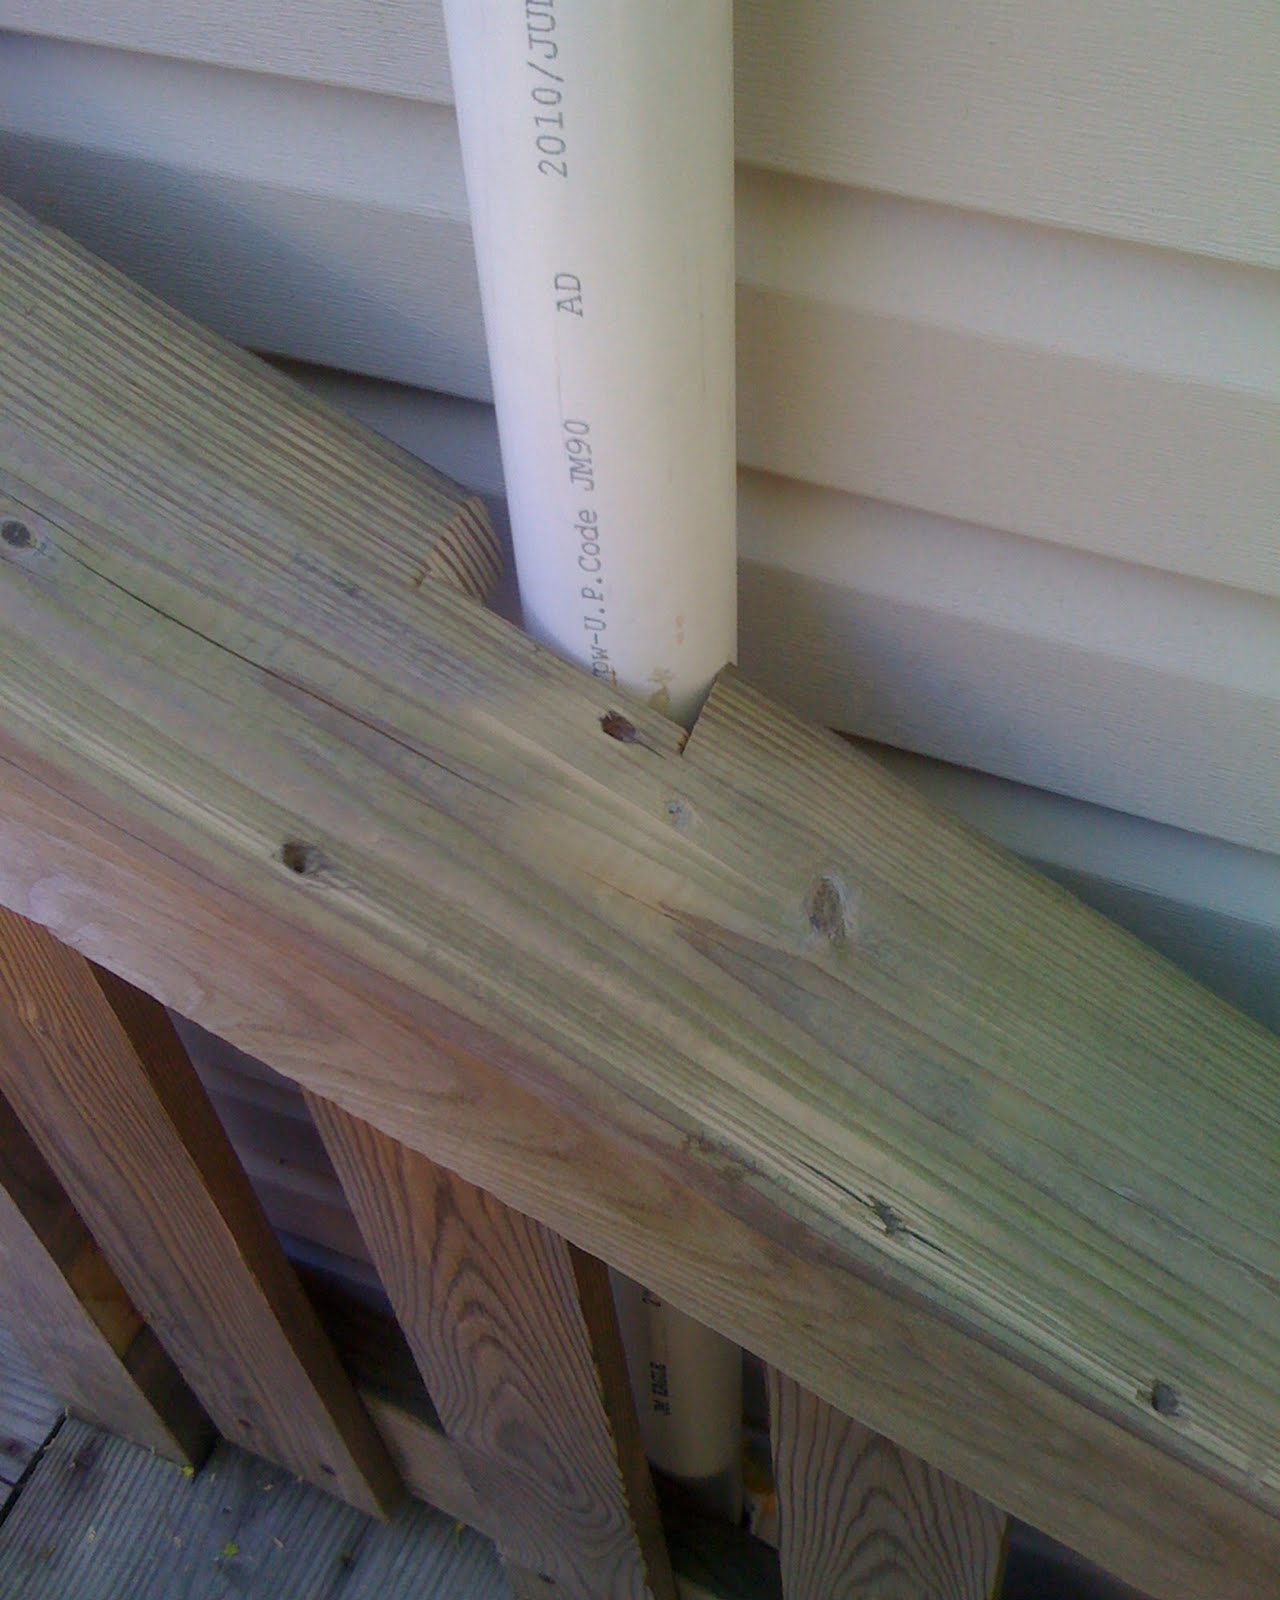
This handrail had to come off so I could run a new vent line for the plumbing -
Too expensive to tear into the existing bathroom wall to run it inside the wall, but the air behind the water was necessary to drain the lines, and keep the odor from backing up into the basement.

Too expensive to tear into the existing bathroom wall to run it inside the wall, but the air behind the water was necessary to drain the lines, and keep the odor from backing up into the basement.
Spring Renewal
HEY ~!
Had some small jobs to do this past weekend, including this PT deck fix -
This is why drywall screws are not used outside - I did the temporary repair, using exterior grade screws, the silver ones in the pic.
But the damage is done - top boards need to be replaced.

Had some small jobs to do this past weekend, including this PT deck fix -
This is why drywall screws are not used outside - I did the temporary repair, using exterior grade screws, the silver ones in the pic.
But the damage is done - top boards need to be replaced.

Monday, April 11, 2011


Electric Panel fix
The panel was getting weather beaten, constant southern sun.
Changed up the old sheetrosk siding (~!~) to solid plywood before mouting the new box.
Changed up the old sheetrosk siding (~!~) to solid plywood before mouting the new box.

Monday, March 7, 2011

Pergo Completion
Well, we're done ~!
Took some extra time, with schedule conflicts, and some forgotten tools, but these are the final images from the project, and the homeowner is very pleased ~! I think it really warmed up the room, and actually complimented the "orange" furniture, which had to stay ~!
Splynter
After and Before :

Took some extra time, with schedule conflicts, and some forgotten tools, but these are the final images from the project, and the homeowner is very pleased ~! I think it really warmed up the room, and actually complimented the "orange" furniture, which had to stay ~!
Splynter
After and Before :


Sunday, February 13, 2011
Pergo, Continued
Got back to the floor this weekend, and actually finished the Pergo itself - not sure why I didn't snap a pic - but now we are discussing the way to trim the room out - white painted or wood-stained mouldings?

Saturday, February 5, 2011

Monday, January 31, 2011
Accident ~!

CREVE ~!
We are going in for our inspection and repair this Saturday - rear end collision on Jan 16th - can't open left door ...


PERGO floor, Continued
We decided to layer the old floor with some 1/4" finish plywood, take care of all the gaps, knots, and dips in the level of the old floor - screwed down, felt smooth and solid

Saturday, January 22, 2011


Pergo Floor Project
Here's the first project to be started in 2011 - job out in Nassau county, pulled up the old carpet ( and will re-use as sound proofing ), and prepped for this weekend's new floor.
Sunday, January 2, 2011

Subscribe to:
Posts (Atom)